Last Updated: November 9, 2018
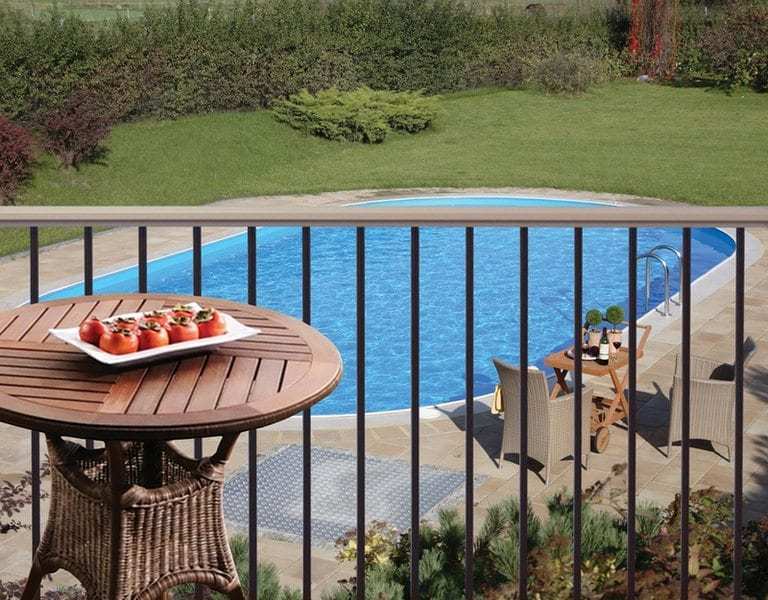
Railings are a key part of your home’s exterior design. Not only can the right railing provide curb appeal, but it can also be essential to your family’s safety and comfort. The best part? You can install most railings yourself, therefore saving time and money. Even if you’re not the most confident handyman, railings like the durable, classic, and virtually maintenance-free PolyRail TRX railing can be installed by anyone. Don’t believe us? Scroll down for a step-by-step video teaching you to how to install PolyRail TRX railing. After reviewing the video, make sure to take a look at our easy-to-follow instructions, which will help you install a sturdy, durable railing that will last a lifetime.
[youtube id=”QT8J7UV_zjQ”]
How to Install PolyRail TRX Railing
Benefits of PolyRail TRX Railing
If you’re looking for a durable railing with classic curb appeal, look no further than PolyRail TRX railing. This stylish, easy-to-clean railing offers reinforced top and bottom rails, ensuring durability and security for years to come. From Victorian accents to stylish post caps, the TRX system has several classic design options. Whether you’re looking for a simple, industrial railing or something with classic, understated flair, PolyRail’s TRX railing brochure is available online so you can select the style that works best for you. There are even multiple colors available beyond the standard white and tan. The best part? PolyRail TRX railing systems are easy to install – just view the video above or the list below for step-by-step instructions.
Components Included in Your TRX Railing System
Keep in mind that railing system packages will vary, with potential add-ons like bottom rail supports and different kinds of latches. Therefore, before you review how to install PolyRail TRX railing, check to make sure that your package contains the necessary components:
- Railing posts
- Mounting system
- Railing balusters
- Post caps – available in several different styles
- Railing latch
- Lag bolts
- Wedge anchors
- Bottom rail support (not included in all packages)
Installing Your TRX Straight Rail System
- Before beginning your railing installation, make sure to measure the distance between the two posts that will form the endpoints of your railing system. That will allow you to cut your top and bottom rails to length. Remember: Top and bottom rails should fit snugly between the posts.
- After measuring the distance between your posts, use a tape measure to make sure that you have equal spacing between the first baluster and the post on the bottom and top sides of the railing. Then, double-check both the top and bottom of the railing to ensure your railing won’t be installed crooked.
- Cut your top and bottom railings to fit snugly between the two endpoints of your railing system. If you’re installing a straight rail system, your top and bottom rails should be cut to the same length.
- Next, install the bottom rail. If there is a bottom rail support in your kit, make sure to install that support at this time. Use a drill to tightly screw the rail into place – you don’t want it wobbling.
- Slide the provided hardware onto the bottom rail on both ends, checking to make sure it is secure.
- Throughout the installation process, it’s important to make sure you’re complying with local building codes. For example, most local codes state that the bottom rail of your railing system can be raised off of the flooring surface by a maximum of two inches. Check that your bottom rail meets this requirement. Meanwhile, center the end of the rail on the post.
- Attach the installation hardware to the post, and then insert the side-entry screw. The side-entry screw goes through the indentation in the bracketry, through the side of the bracket, into the vinyl, and into the aluminum portion of the bottom rail.
- Securely install the cover on the bracket. The bracket cover hides the screws you used to secure the railing, ensuring a sleek, timeless look. Snap the bracket cover into place – we recommend hitting it with a mallet for a snug fit. Repeat this process on the other side of the bottom rail.
- At this point, your bottom rail should be ready to receive the railing balusters. One by one, place the balusters in the bottom rail. Set the top rail on top of the balusters and, moving from one side to the other, move the balusters so that they fit into the top rail’s holes. Tap with a mallet for a snug fit.
- When the top rail is installed, slide the top rail bracketry onto the end of the top rail. Repeat on the other end.
- Center the top rail on the post and use two screws to secure the top rail in place. After that, insert the side-entry screws to attach the top rail to the bracketry. Then, install the cover to hide the screws and ensure your railing’s sleek, uninterrupted look. Finally, snap the screw cover into place. This is another component you’ll want to tap with a mallet for a secure fit.
- Before applying the provided caps to the top of each post, make sure that the railing is secure and sturdy, without a crooked slant or wobbly balusters.
- Finally, apply the provided caps to the tops of each post. We recommend using a strong PVC cement to hold the caps in place. When you order your TRX railing system, make sure to evaluate the cap options available to you – this tiny detail can greatly enhance the look of your railing system.
_____
Once you’ve reviewed how to install PolyRail TRX railing, head on over to MMC Fencing & Railing. In our online store, you’ll find several PolyRail TRX railing systems, which come in a variety of colors and styles. Beautiful, classic, and virtually maintenance-free, these railing systems will undoubtedly add a lasting value to your home. We also offer free shipping on orders of $50 or more, ensuring you’ll get the most value for your home improvement project. If you have any questions about how to install PolyRail TRX railing, please give us a call at 1-866-931-5002 or click here to request a quote. We look forward to hearing from you!